I constantly get emails & messages on social media from fellow online sellers asking for tips, advice on their listings, or shop critiques. One of the main things that many sellers struggle with is photography, and often the response is “I don’t have anywhere to shoot” or “I don’t have a ton of natural light”. So, I wanted to put together a quick tutorial on how to shoot excellent products like the one above in no more than 12 square inches of space!
All I used in this shoot is one piece of paper & two photography lamps. They have adjustment legs, so you just need about 12″ of floor space on either side of your surface to stand the lamps up, so space isn’t an issue. As far as cost goes, my set of lamps are about $80 on Amazon. I did find this set for under $50 at Wal-Mart and this set for $40 on Amazon, and I’m sure with a little more digging, you could find a set for basically any budget.
I cannot stress enough how important of an investment professional lighting is for a maker so you can have consistent, even lighting in every single set of images. There’s “hack” videos out there for turning household lamps into photography lights, and I’ve tried almost every one of them. They do no compare to the real deal, but can tide you over until you can score some of these beauts.
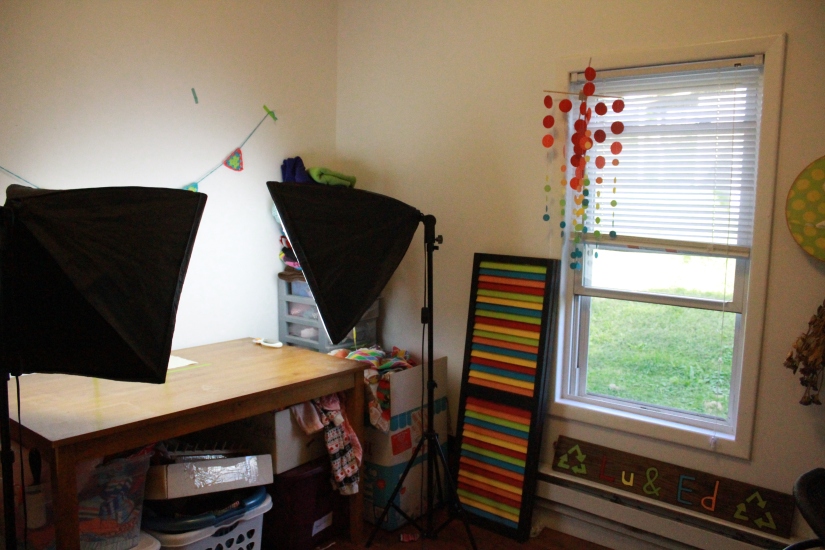
To really demonstrate what a huge difference they make, here is an image of my work space for these images with the overhead light off.
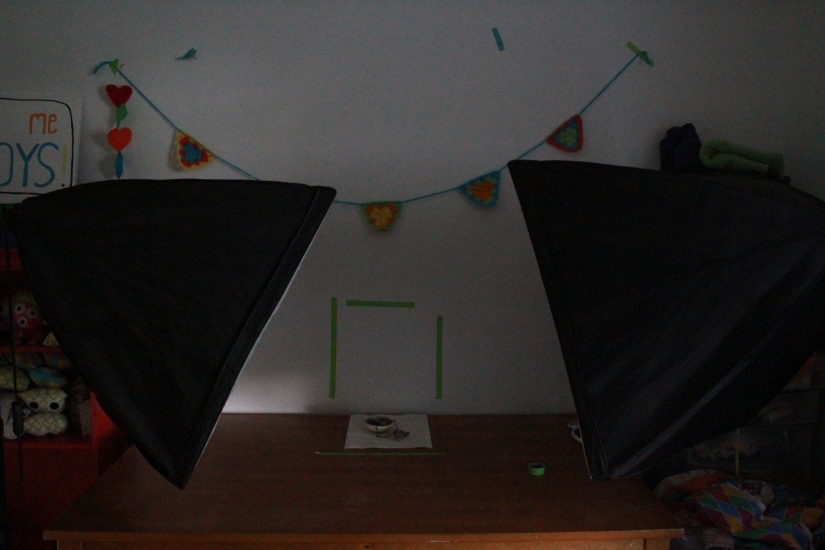
Same exact space with the photography lamps on. See the enormous difference? Minimal natural light here, so for all those people with a day job doing this as a side hustle, or mamas who don’t get time to get their goods out for shoots until evenings – photography lamps! Order them, stat!
Zoomed out shot of my work space for these images – please don’t judge my messy studio, I was just wrapping up a day of monster making! As you can see (I brightened this image a lot just so you can see), I have one West facing window, and you can see the shadow my house throws in the evening on the grass. We have an enormous maple tree that completely shades almost our entire house, so my studio gets very dim at about 3pm, and this was taken at almost 5.
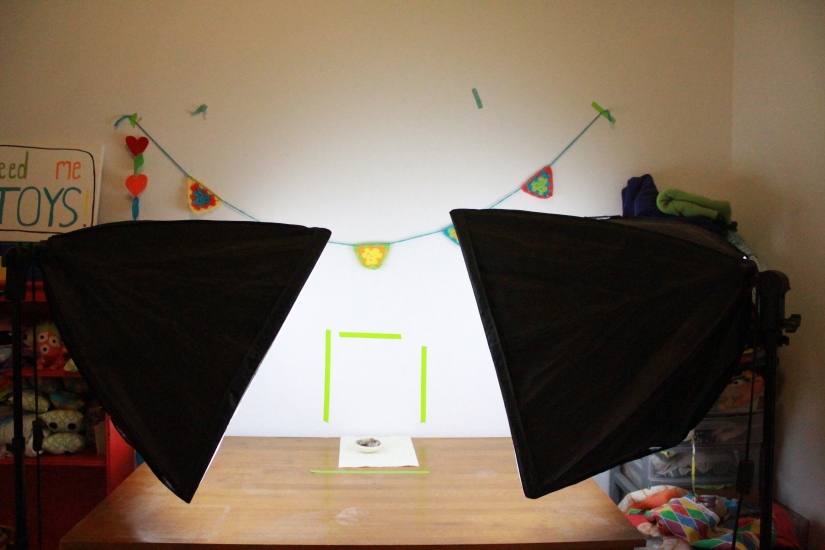
To make sure I didn’t use more than 12″ of space, I used a ruler & washi tape to roughly mark out lines on the table and wall, effectively creating a 12″ cube of shooting space.
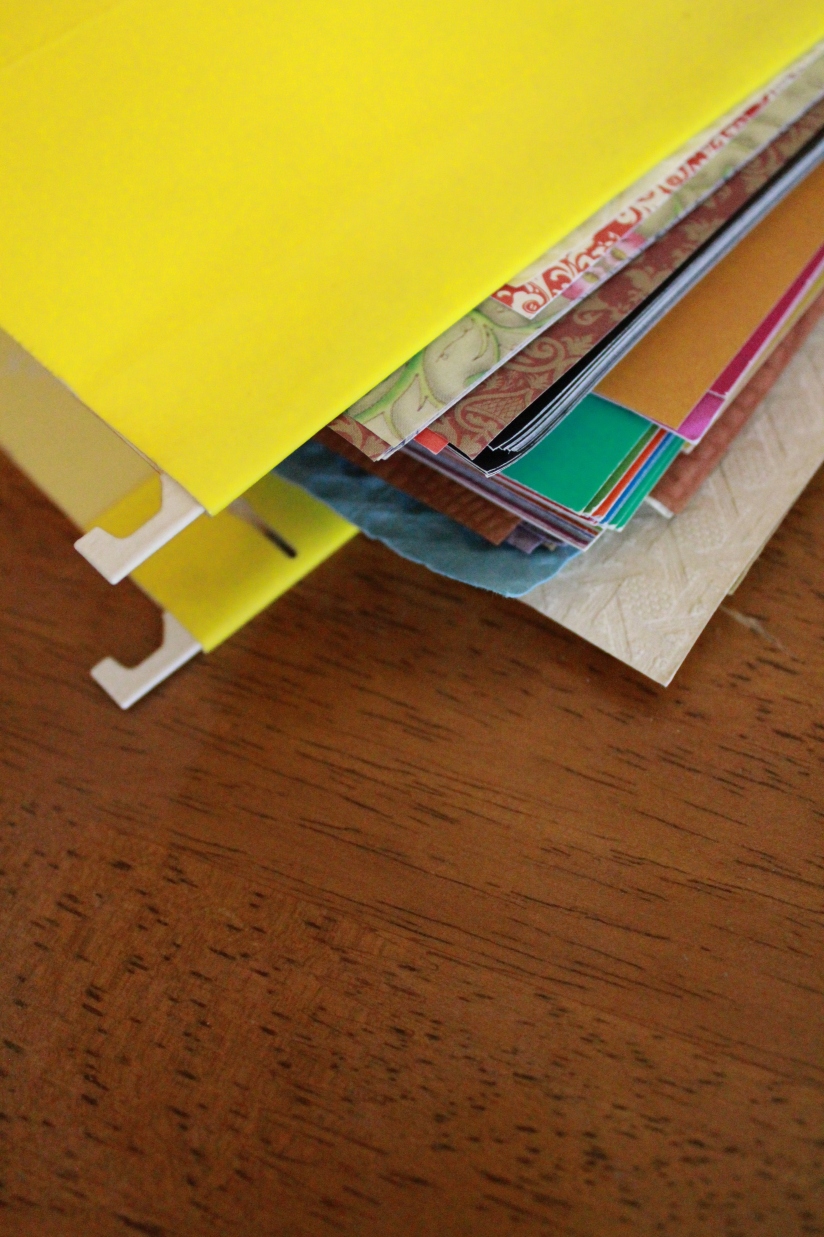
For affordable backgrounds, scrapbook paper. This entire file is 8″x12″ paper. As you can see, TONS of possibilities for backgrounds, and this size of paper is usually 15 cents at craft stores.
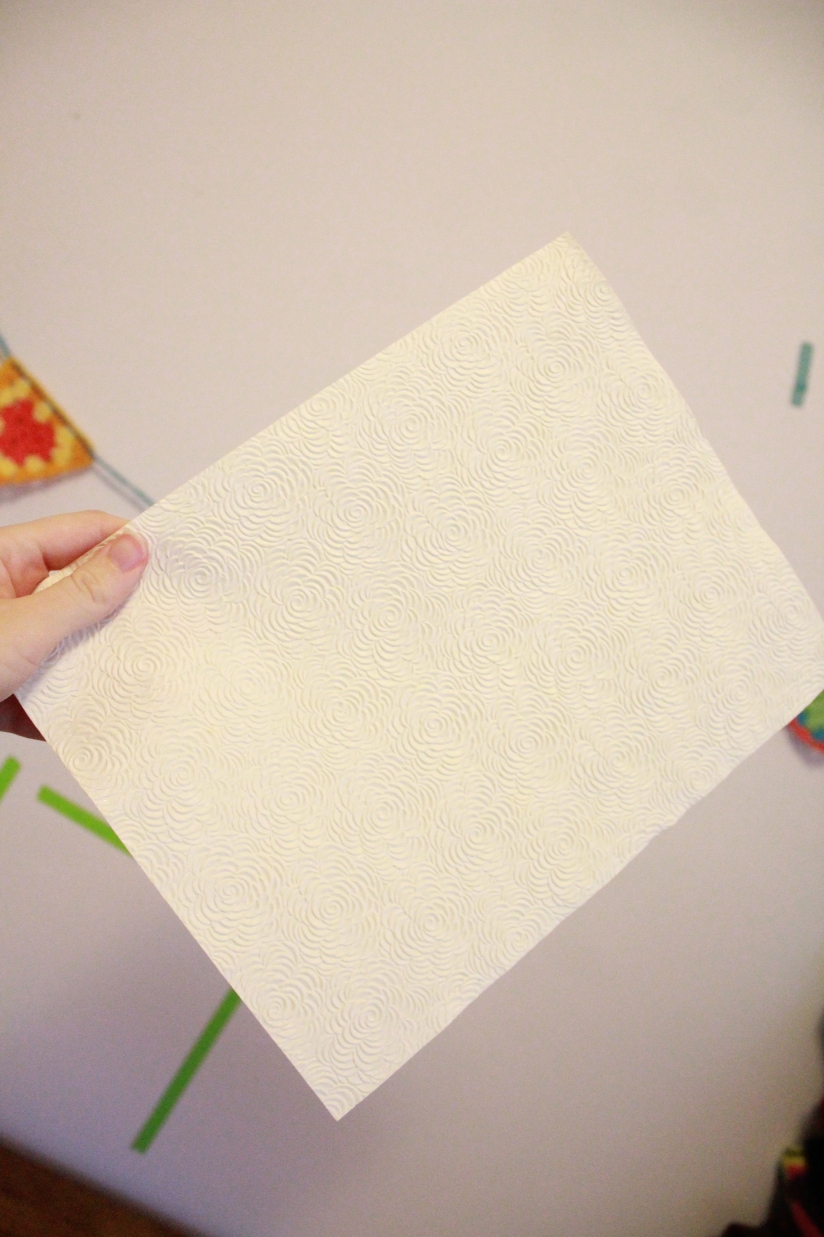
I chose a white embossed style paper (averages about 30 cents, I think, at most craft stores in the scrap book department).
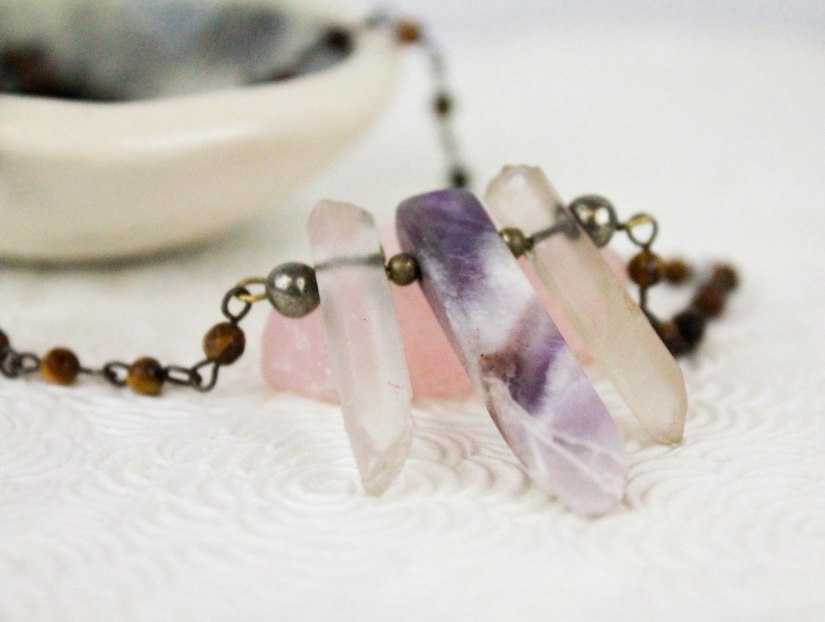
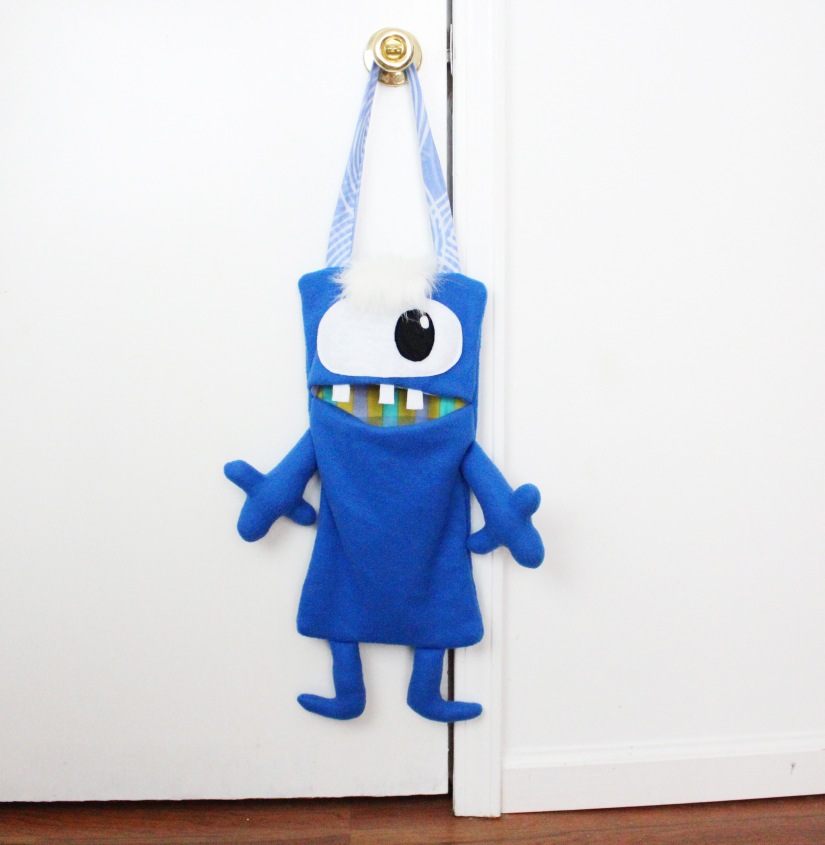
These were my subjects – Random Sh!t jewelry dish by Clay by Laura, a piece of rose quartz from my son’s insanely extensive stone & gem collection, and a necklace from Almond Eye Creations.

I put the dish & rock on the paper on this beat up dark-ish table, and snapped these raw images with my Canon Powershot point and shoot (not my DSLR).
I used some free photo editing software on the internet to crop, rotate images to straighten them out, brighten, and slightly increase saturation in the images to really show off the amethyst.
And that is how you create excellent images for small products in just 12 square inches of space! It all comes down to professional lighting, creative use of space & supplies, and good angles.
Sidenotes: If you don’t have white walls or a ton of space, substitute by taping white posterboard ($1 at the Dollar Tree) up when you need to shoot images, and store them upright behind book cases or the couch.
Have other photography questions? Post them in the comments & I will create posts to help with all of your photography needs!
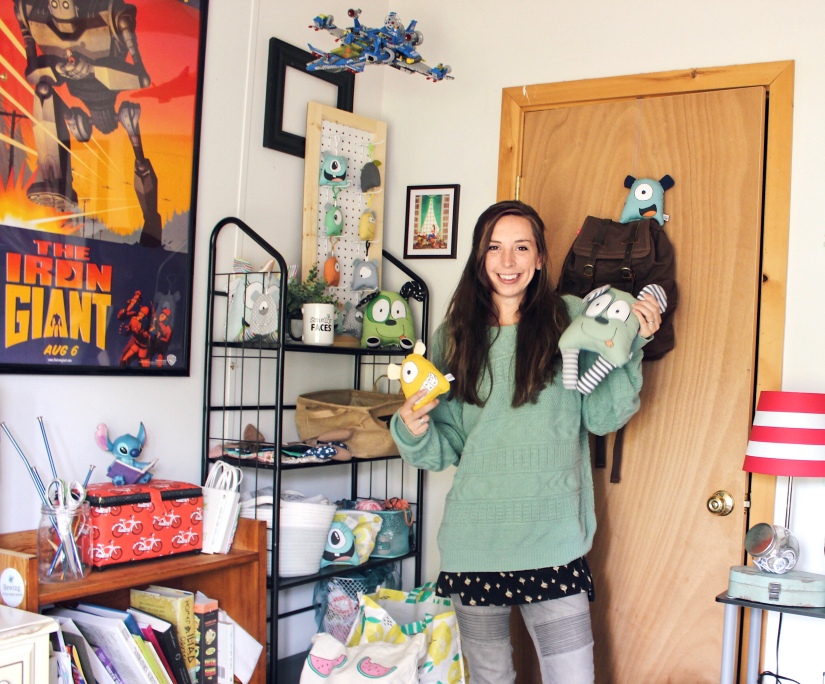


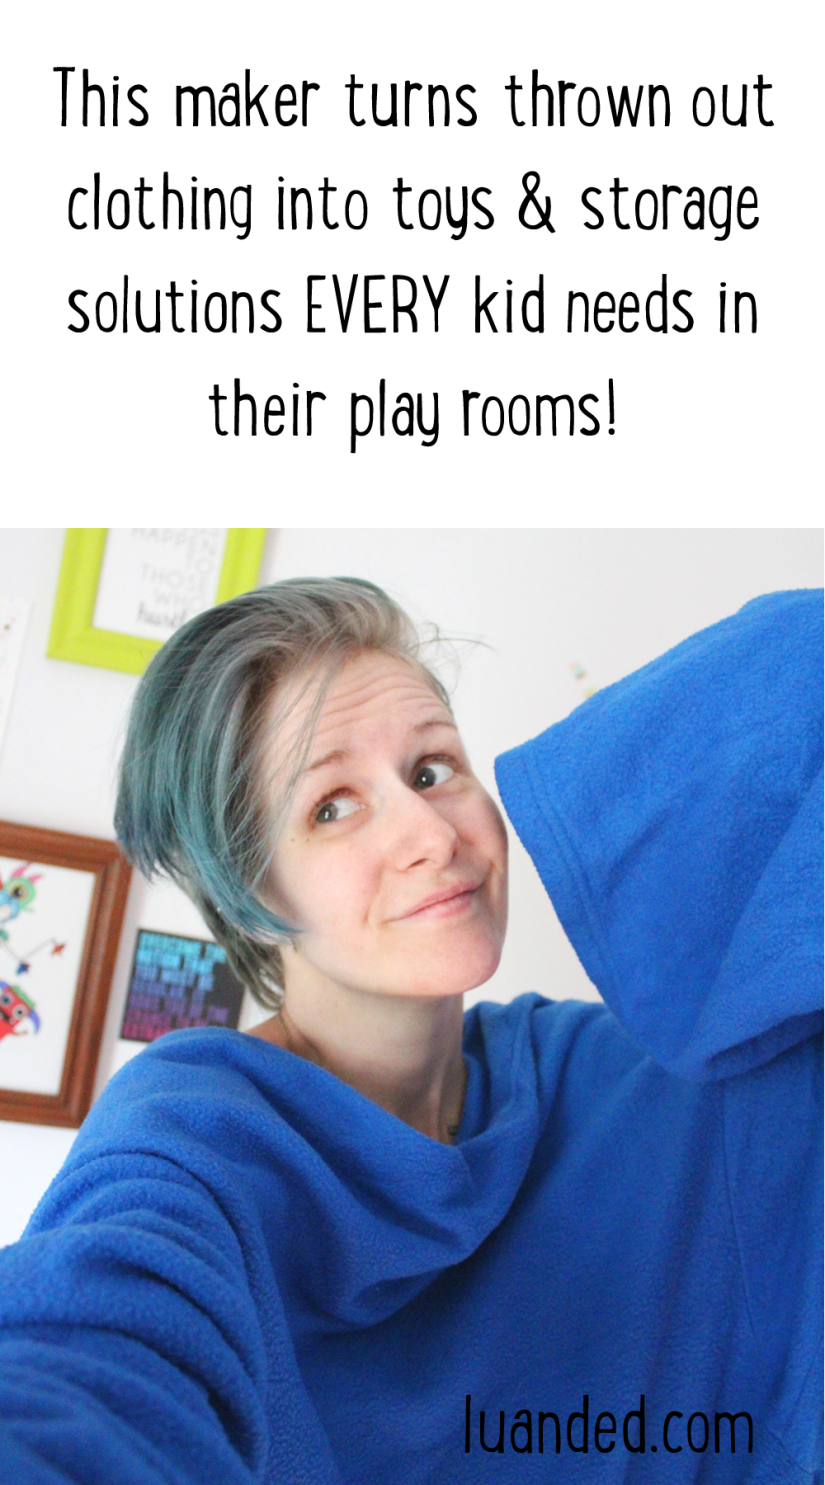


 I have always been a weirdo.